From Trap to Hat!
- Linda White

- Sep 3, 2019
- 6 min read
So......... the first Monday of the month was to be written by me and the third was to be written by our guest writer. This month we are going to switch it up a little because this coming weekend (September 6th and 7th) Our guest writer will be at the 56th Annual WTA Fall Convention in Marshfield, WI. This will give you an opportunity to ask her questions in person if needed. So with that said lets get this party started!
If you don't know this months guest writer you need too! She is one of my inspirations when I think of women in trapping. Skye Goode not only runs her own line and does all her own skinning, but she is a mama, mentor and business owner. Tell me that isn't a full plate??? What has always attached me though about Skye is how hard she works after the animal is harvested!
___________________________
From Trap to Hat
By Skye Goode
I often receive questions from trappers about what to do with the furbearers they harvest after they've trapped them. My response is commonly in the form of a short novel, because after the animal is caught is when the REAL work begins! In the article, I will hopefully help guide you through the basic process of how to make the animal you trap into a good quality garment that you
can proudly display as well as keep you warm. I primarily sew fur into hats, so that is the garment that I will be focusing on, however the prep work for any garment is much the same.

Preparing to make a fur into a hat starts before one even sets a trap. The time of year, species targeted, and location all play a role. For example, a well-furred December raccoon makes a much better hat than a nuisance June raccoon. Setting in a briar patch is a guarantee that the animal will be full of burrs and matts once caught, meaning the trapper will have to spend alot of time ripping burrs out of fur, possibly damaging the pelt. Therefore, a little bit of forward thinking will aid in planning out your fur hat. Harvesting fur for garments is much different than harvesting for the fur auction. As a trapper using a pelt for his own hat, he doesn't need to worry about slight rubbing, or tick bites, or the blueness of the leather, as none of that will matter when the pelt is tanned and sewn into a hat.
Dispatching the animal can be something a trapper would want to think about as well. Do you want a hat with the face on? Then you might want to consider dispatching your animal in another place besides between the eyes, or you will have a hole in the face of the hat. For the most part, trappers do not have to worry about blood or mud stains when using a pelt for a hat because all of that is washed out in the tanning process.
The most critical part of this entire process is what is done between the dispatch and the tanning. Skinning the animal as quickly as possible from dispatch is very important. Secondly, making sure not to put too many holes in the pelt is the next thing to watch for. Some small holes can be sewn easily, however larger holes, tears, cuts, will be more difficult and could certainly render your pelt useless when it gets to the sewing process. Also, some styles of hats use the entire paw. Trappers are used to cutting the animal's pelt off at the ankle for fur auction, however if you want a Mountain Man hat or something similar, you would want to skin the entire leg out down to the very last toe knuckle where the bone meets the claw. The pads of the animal will shrink down hard in the tanning process and make for an impressive hat. Also consider if you want the tail on your hat and if so, take care to not bob the tail when you strip out the bone, and to split the tail evenly down the middle without any holes, as tails are very susceptible to being ruined in the tanning process if they have any weak spots whatsoever.
After skinning, getting the hide dried is the next step. Much like putting up fur for auction, the trapper must stretch and dry the hide leather out to begin. There is no need to remove any ear cartilage or split the eyes/lips like for taxidermy. Fleshing is a necessary step for the heavy fat animals like otter and coon. The good thing about tanning pelts is that there is no need to flip the pelt fur out like we do for fox or coyotes going to auction, because they will be submerged in a solution anyway during the tanning process. Something that also varies from putting up for auction is that you don't need to follow any board measurements, pleating specifications, or inspection windows, though practicing your fur put up is a good rule of thumb regardless of if they are being sent to auction or not.
Once the pelt is dried, it now needs to be tanned. I personally do not do any home tanning. Home tanning takes an extensive amount of time and effort that I simply do not have, and to get a good quality tan that doesn't have an odor and is clean, soft, and supple, the best option is to send your pelts to a professional commercial tannery. There are many throughout the US, big or small. One thing that I've noticed is that all tanneries will have good and bad reviews. The bad reviews usually are a result of the trapper doing a poor job in the prep work of the pelt, and when the pelt is ruined in the tanning process, they are quick to blame the tannery. Do your research, talk to others, and pick a tannery that you think fits your needs. The biggest and most well-known is Moyle's Mink and Tannery in Idaho, but due to the high volume of skins sent to them, their turnaround is usually 9 months or more. Some tanneries do not want you to use any substance like Borax on a pelt, some don't mind, so visit their website or give them a call before you even catch the animal so you know what to expect.
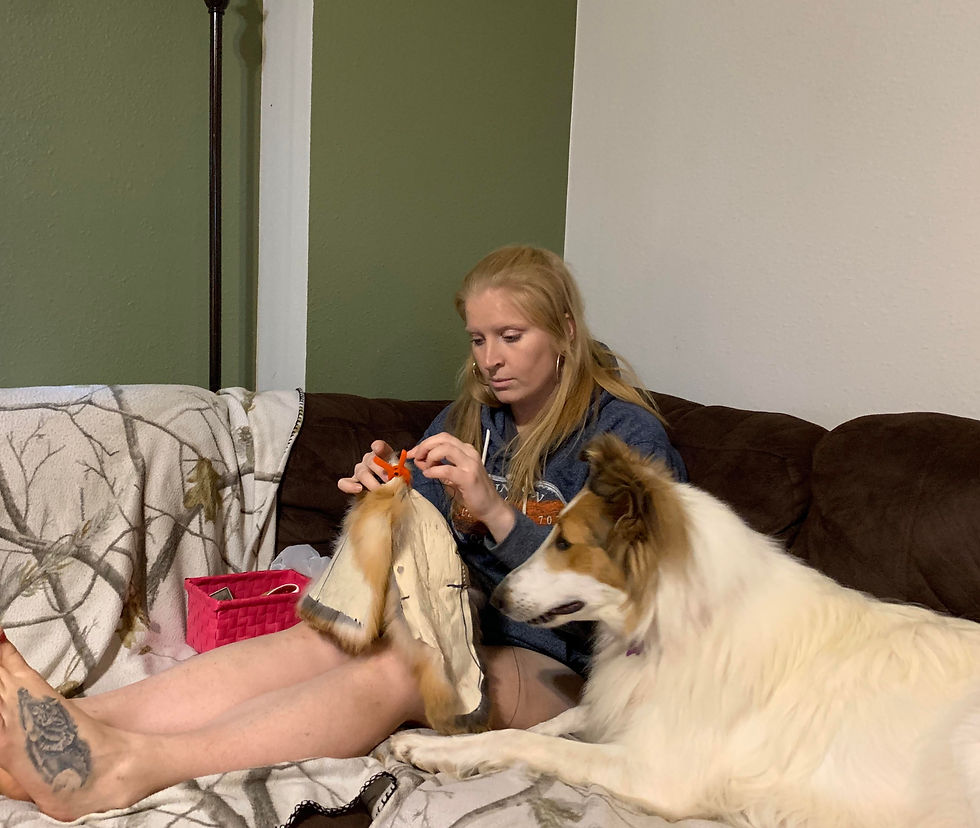
After you receive your tanned pelts back from the tannery, you will see how soft and clean they are. There should be no burrs, no matts, and hopefully no slip spots. Slip spots occur from the trapper's end of things generally speaking. Slippage is when the bacteria on the green pelt, starts to decay the roots of the fur in the skin and the fur starts to fall out. That is why it is so important to get the pelt skinned and dried as quickly as possible. Slippage usually occurs first where there are nooks and crannies that moist and bacteria thrive in, such as the ears, armpits, and nose/eyes. If you are satisfied with your tanned pelts, you can now begin the sewing process. How to sew a hat could be an entire book by itself, so I suggest going online and either finding free hat patterns, or purchasing hat patterns for a few dollars. There are even entire books with detailed steps on how to sew a hat, and some videos on YouTube that may walk you through the process for free. In a nutshell, so sew a fur hat, you cut the pelt up the belly (unless you want the belly whole, like a bobcat), draw on your pattern using a marker on the leather/skin side. Cut the pattern pieces out with a sharp scalpel, being sure not to press so hard that you cut the fur on the other side. Brush out the edges of the pieces to remove loose hair. Sew pieces together following the pattern guideline, sewing from the inside of the hat, meaning pieces are fur-to-fur during the sewing process then flipped back right-side-out when complete. I also use fabric for the inside liner so the person's head isn't touching directly to the pelt's leather. This adds comfort and warmth. I personally use a waxed thread and needle by hand, similar to what you would use for repairing upholstery or saddles. All my sewing materials can be found in the leather sewing section of a fabric store.
Some people sew with the aid of a sewing machine, which is perfectly fine, however my personal preference is to hand sew by needle and thread only, this is partly due to my own stubbornness of wanting my products to be "genuinely made by hand", something that the world is lacking in this modern era.
I hope this article gave you a small bit of insight into the world of fur from trap to hat, and I hope that you are very successful on your trapline this year so you can have a chance to create something by hand out of the fur you harvest. Fur is sustainable, renewable, and biodegradable, so we owe it to the landscape, environment, and the wildlife we love so much, to utilize as much of this resource as possible, and show the world that real fur is NOT going out of style!
_______________________________
WOW! If you didn't learn something from that...you need to read it again! HAHA!
Like Skye said Fur is sustainable, renewable, and biodegradable, so we owe it to the landscape, environment, and the wildlife we love so much, to utilize as much of this resource as possible. So much of the animals we harvest have many uses, this is just one!
To see some of Skye's work check out Bearfoot Furs www.facebook.com/BearfootFurs. You will not be disappointed! I know I wasn't!


It was so good for me to read Skye Goode’s article I’ve wanted to make something with tanned fur for quite some time, she has inspired me to try. There is nothing more beautiful than the fur on wild predators, each is unique and has its own caricature. We are so blessed to have the opportunity to see it up close with all of the natural beauty that is there for us to appreciate. I love the life.